How-To Customize Branding on Client Portals
Bryan Stouffer
Publish Date:
December 3, 2020
Make Sharing thing here
1. Click the "Settings" link on the left-hand panel.
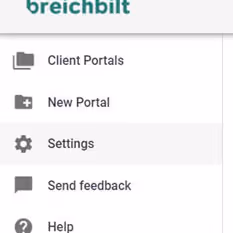
2. Select the "Branding" tab.

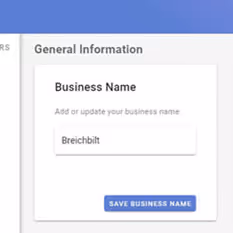
3. Update your business name and click "Save Business Name"
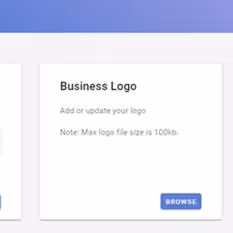
4. Click "Browse" to select a image file for your Business Logo. This name and logo will appear on the login page when your guest logs in and will also appear in the top-left corner of the app when they access their portals.
You can also customize the invitation email that is sent to your guests on this page as well.

Copyright 2023 Breichbilt LLC